


Gail’s Flip Flop Card Tutorial
Below is my upline and BFF Gail’s Flip Flop Card Tutorial that she posted on her blog a few weeks ago. Great job my friend and thanks for sharing the details with us.
Flip Flop Card with Tutorial
For those who were unable to attend my SAS this weekend,, here’s a copy of the Flip Flop Card we made using the Awash with Flowers stamp set, along with a brief tutorial on how to assemble it.

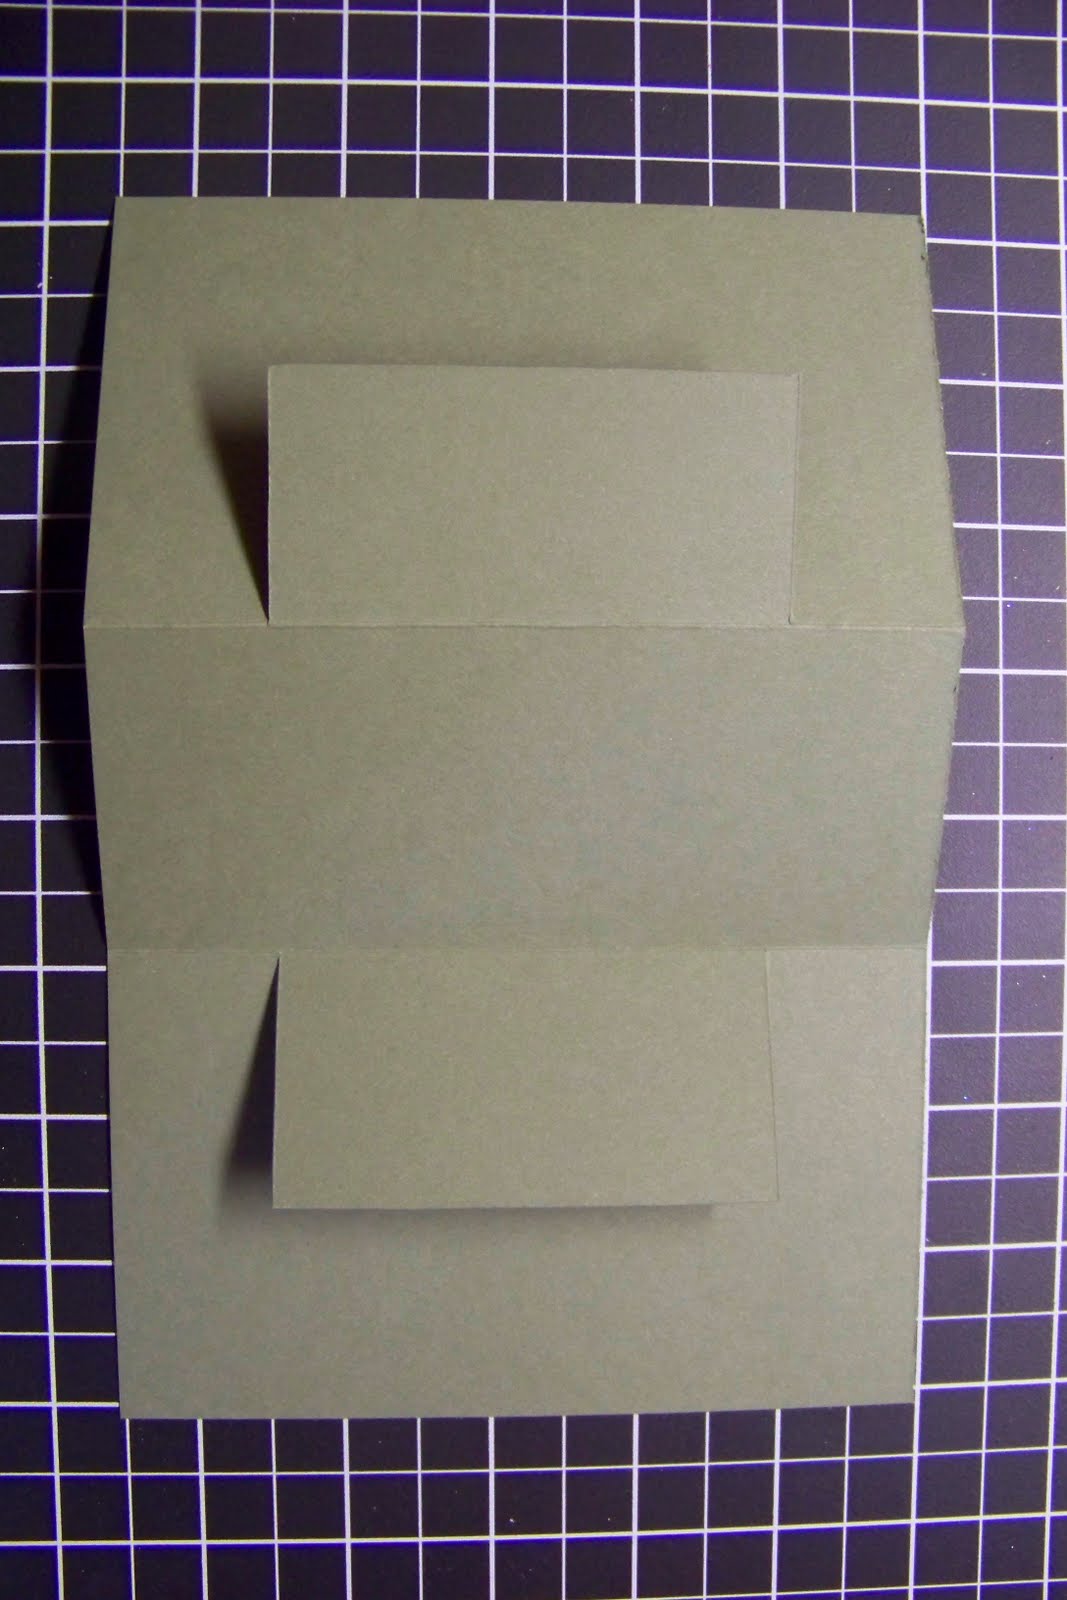
This is a picture of the template you need to use to complete this card:

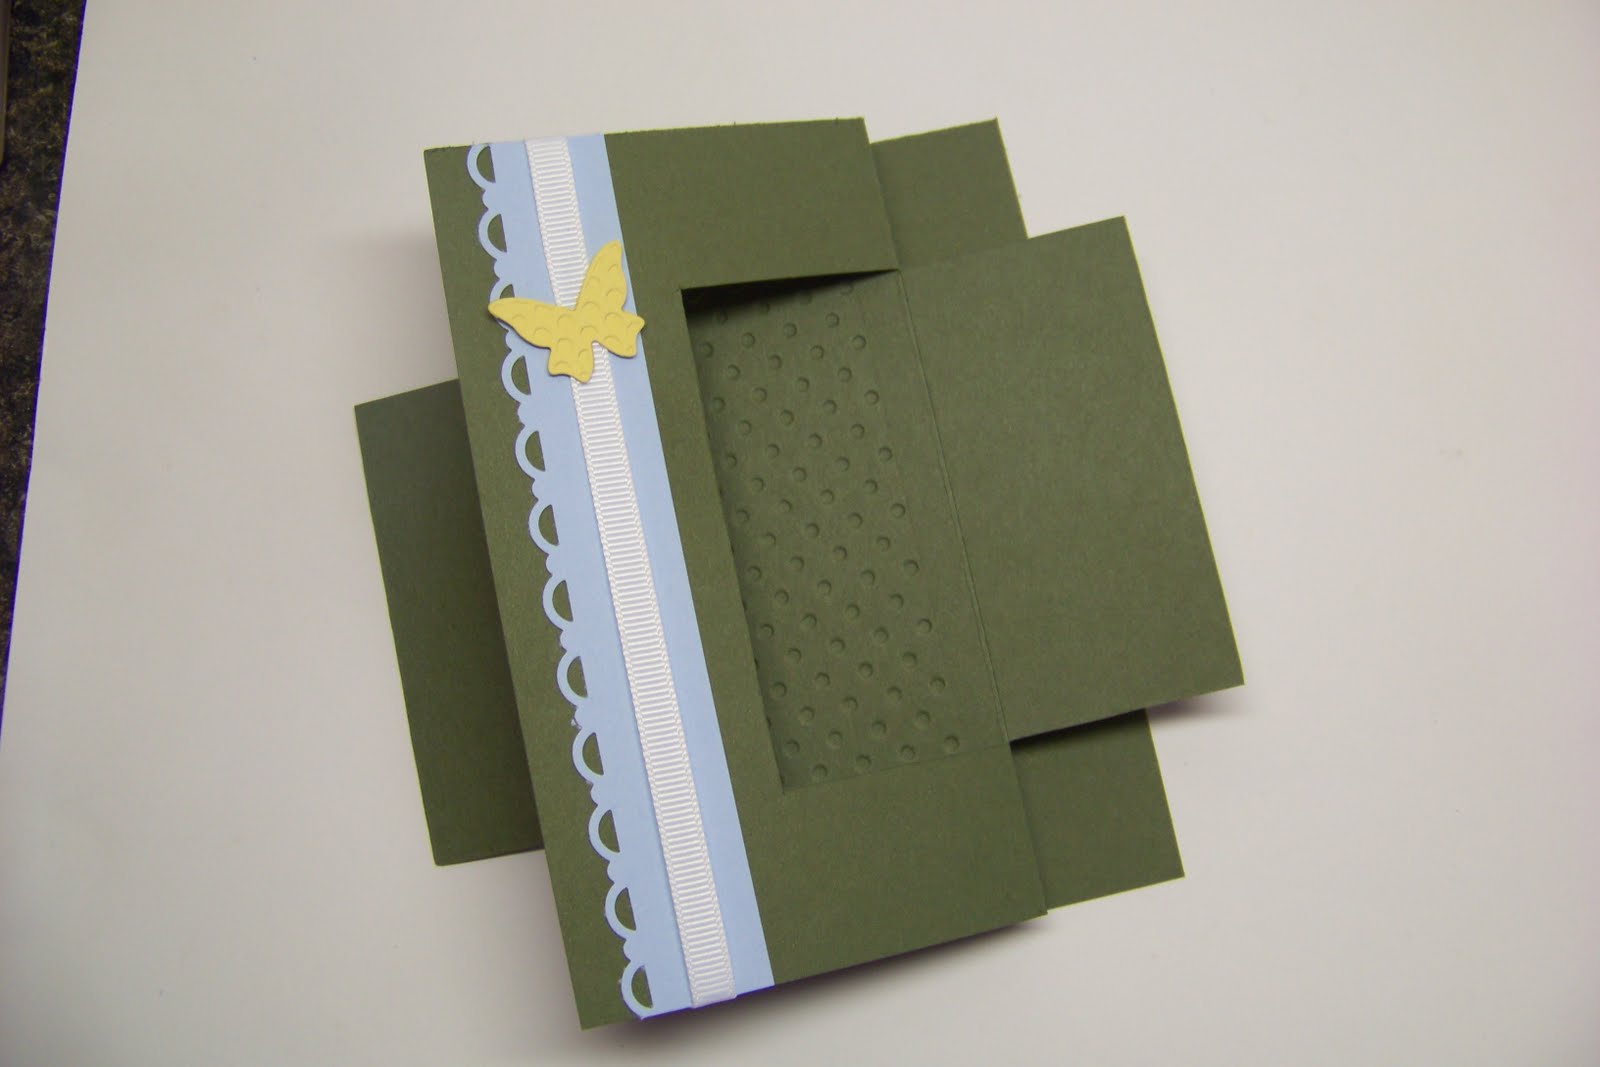
Start out with a regular sheet of cardstock 8.5 x 11 and cut in half to 8.5 x 5.5. The solid lines are where you will need to cut and the dotted lines are fold lines. The fold lines need to be folded in opposite directions, one mountain fold and one valley fold. The image below shows what your cardstock should look like once cut and folded:
Cut 2 pieces of Whisper White cardstock to fit in the center of the card. Remember to allow an extra 1/2″ if you are planning on using a border punch. I used the “Awash with Flowers” stamp set to stamp my images. I also used the “Scallop Trim Border Punch” for one edge
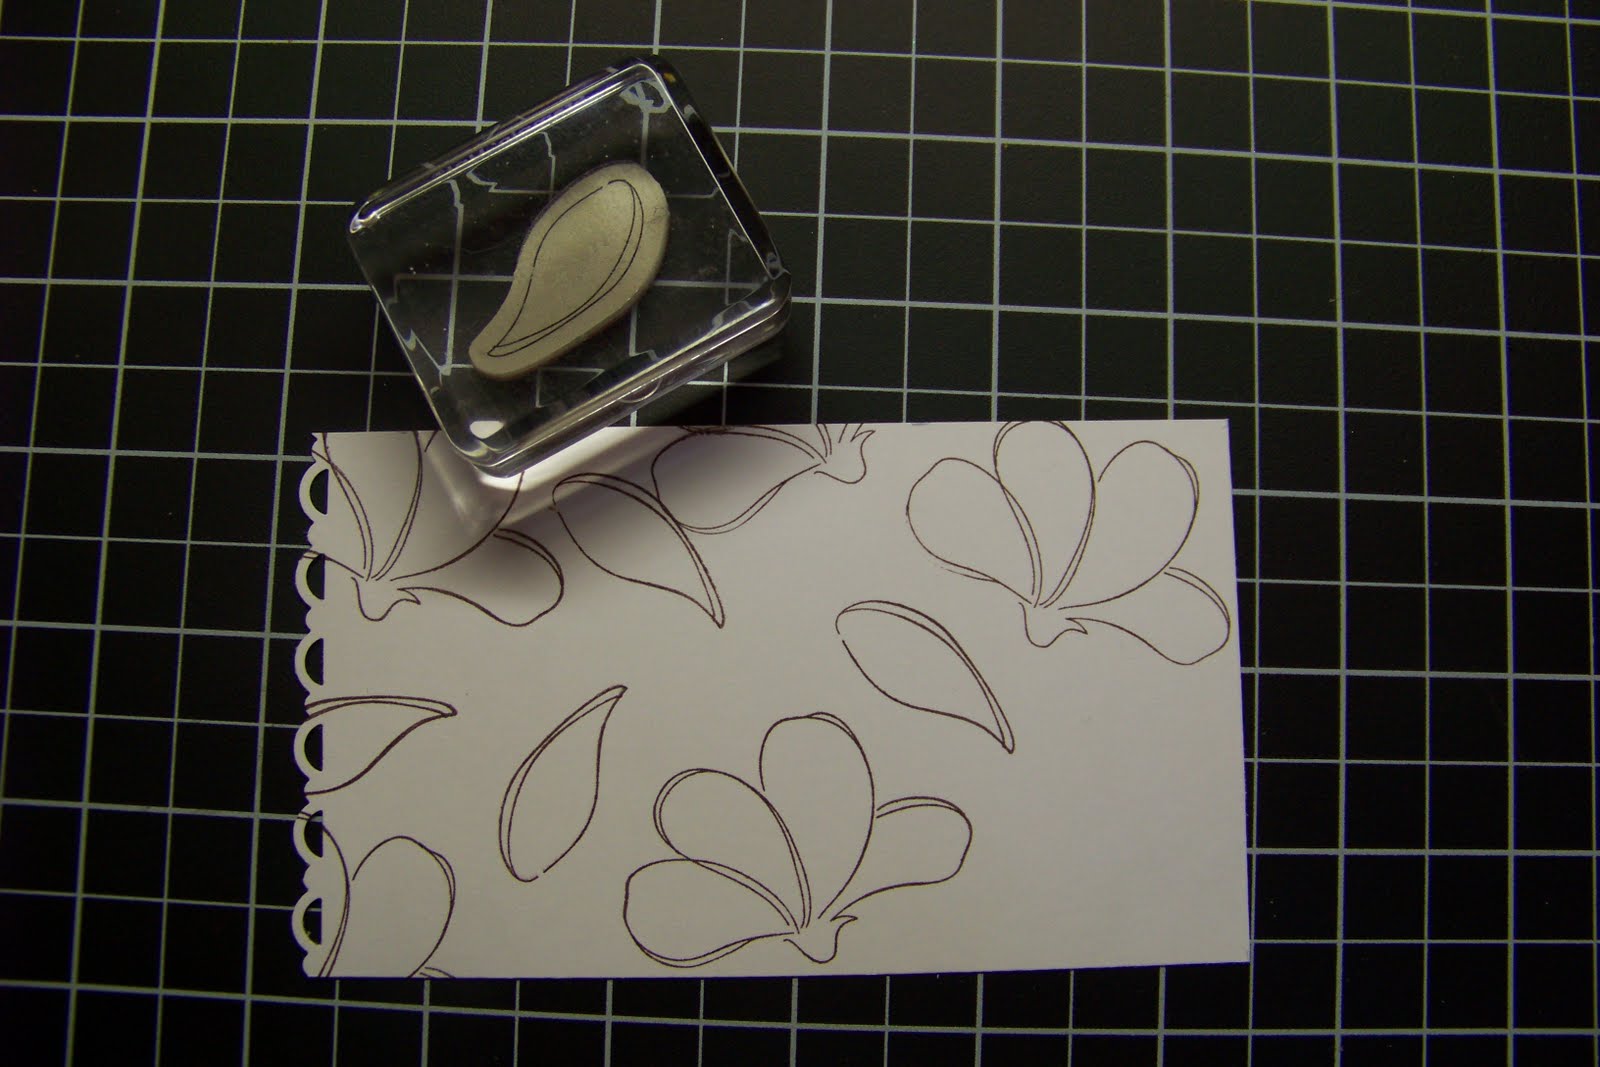
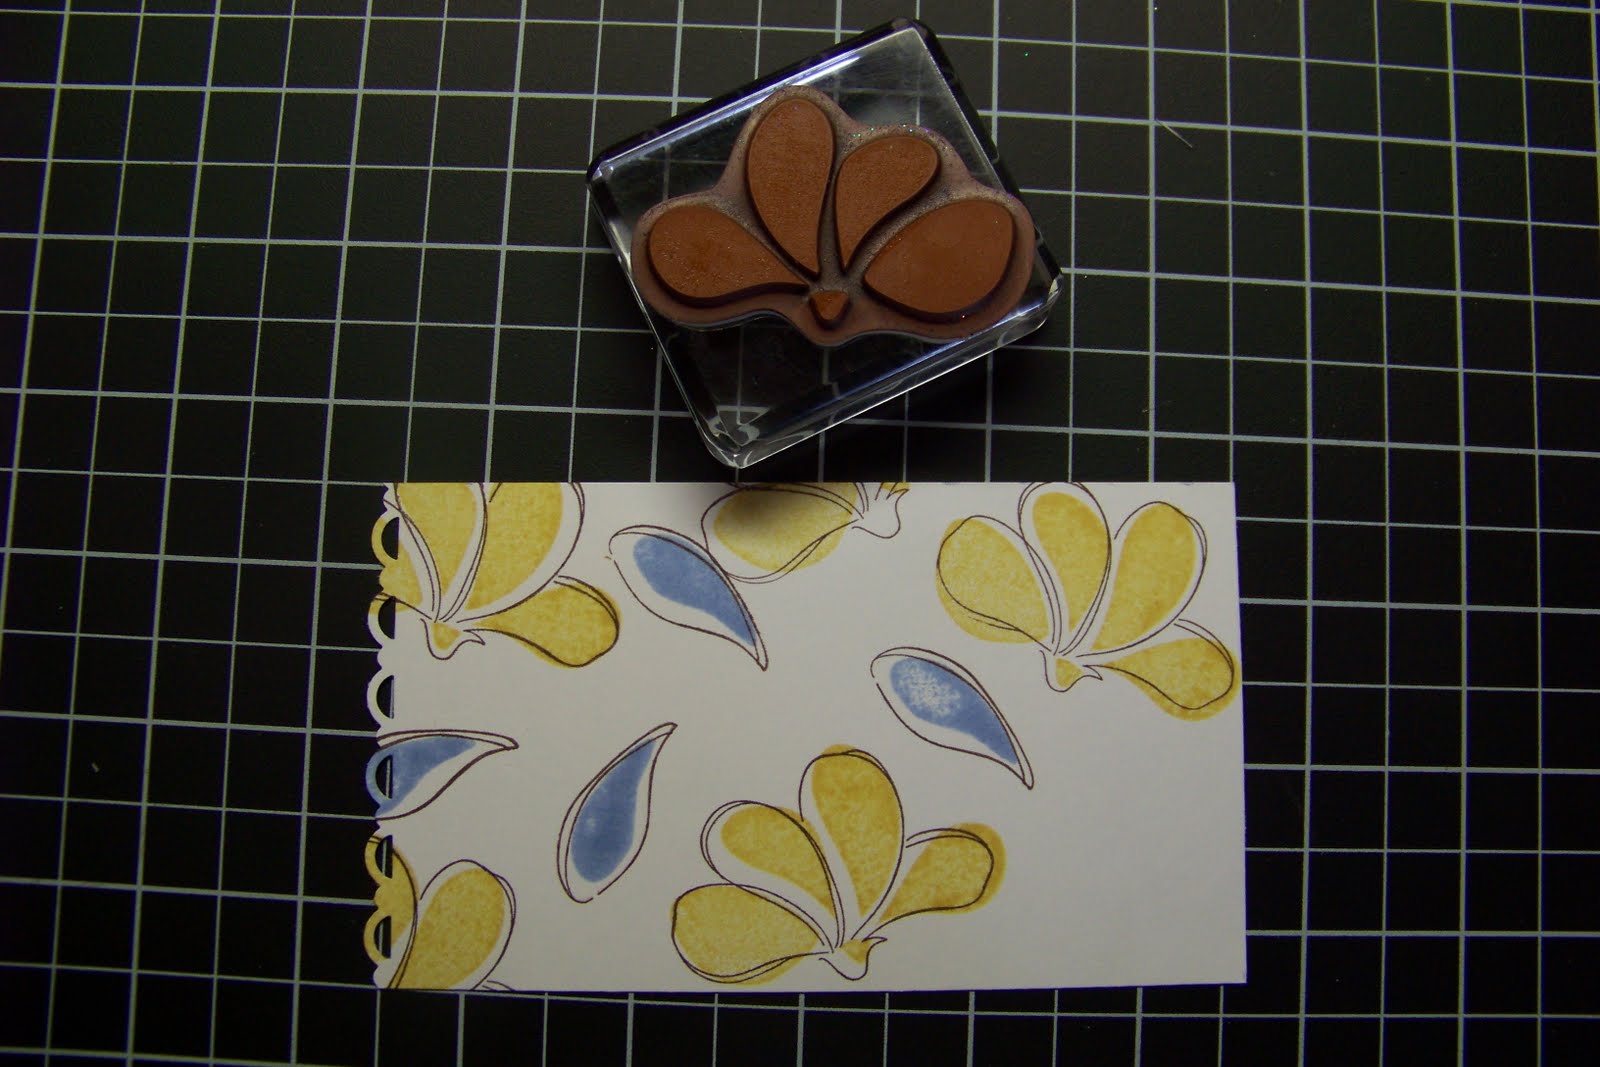
Do not glue to your cardstock yet.
Next add a strip of Soriee DSP and some 1/4″ taffeta ribbon
Now glue your two panels, one on each front and back side
of your background layer.

Add a few butterfly’s from the “Beautiful Wings” embosslit die:
and your card is complete!
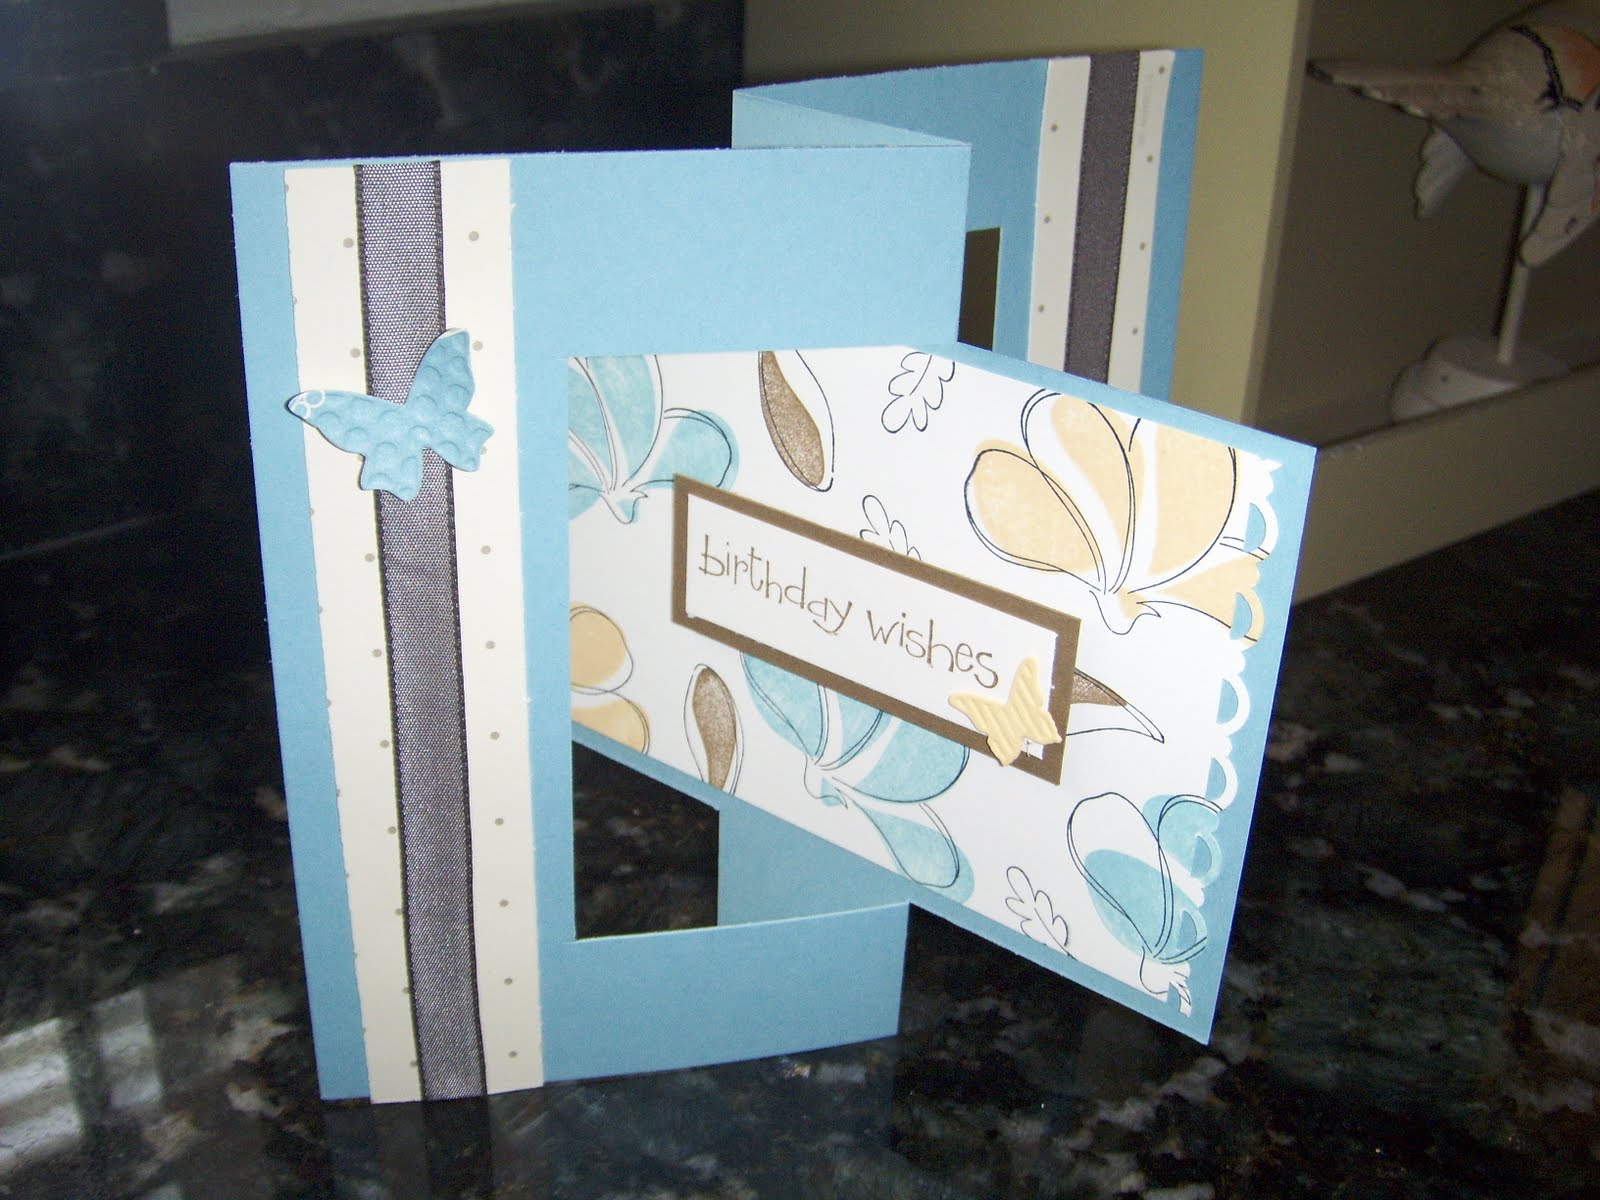
It’s a fun card and can be made for so many different occasions..
and it will definitely bring a smile to those you give it to!
Love you Gail and thanks again.
Pam

No Comments »
 Subscribe to the comments for this post