


Stamp-A-Stack Set up – Garage Table
Hi Girls,
In case you have never been to one of my events but was thinking about attending but not sure how my Stamp-a-Stacks work.. well here are some pictures for you for how I set the tables with the sample cards and supplies.
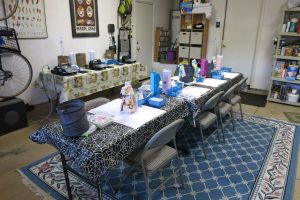
The first set of pictures is my garage table set up. The garage has a lot of room so this is the room where most of the cards that need to use the big shot are done. Also its the only room that has 4 cards to be made.
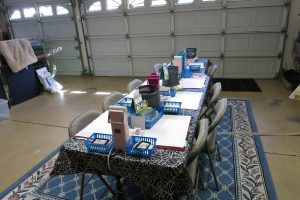
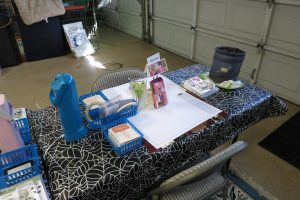
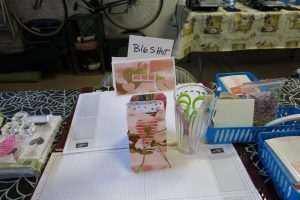
Shot of the table set up and clean (before the girls arrive to stamp). It may not look this clean later but that is ok too.
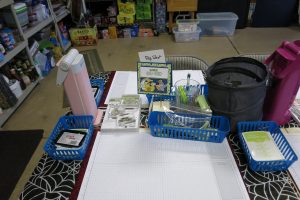
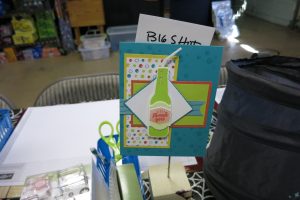
Card 1 set up – stamp set to share, ink pads on each set (do not have to share those)
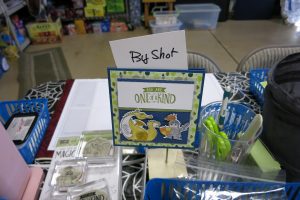
Card Sample (one on each side of the table, cup as scissor, bone folder, tongs. I put the big shot sign so the girls know they don’t have to cut out these images, they are to be done on the big shot.
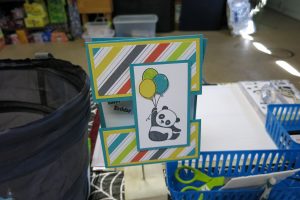
Card # 2
Sample card

Card # 3
Sample Card
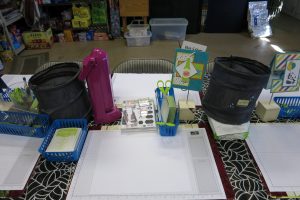
Card # 4 (this one happen to be a box and a card for Valentines Day).
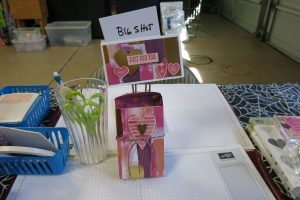
Sample Card
Other Sample Card
Garage table with big shots behind them
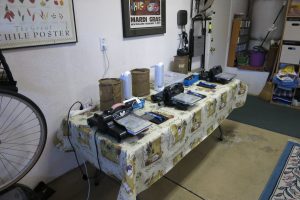
Big shot table. I have 4 big shots for my classes so its easy for everyone to make their cut outs and not have to wait too long to use them. They are set up to be used with each card. I have one electric big shot I use (not an SU product) but you can’t always use all their products sometimes.
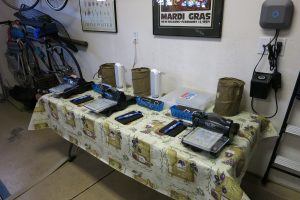
Another shot of the Big shot with pokers, mats, garbage cans ect.

 Subscribe to the comments for this post