


Archive for the ‘Uncategorized’ Category:
Summer Splash Surf Ups
Happy Hump Day my friends,
This was one of my favorite cards made at the Summer Mini SAS held this past weekend. I totally cased this card from another demo so I can’t take credit for this card, but that is what our Stamping Connection site is all about for SU demo’s. You get to see other demo creations and its only for SU demos, so now our secret is out and to why we are so creative.. heee

This card using the surf boards from the Summer Splash stamp set on page 17 of the mini catalog. It also uses Marina Mist, Pumpkin and Crumb Cake paper. I also used the cripper on the Marina mist and champagne Mist Shimmer paint. I used pop-up dots to pop up the surf boards. I just loved the colors of this card.
Have a fantastic Day.
Pam

 Subscribe to the comments for this post
Open Sea
Hello there and welcome back.
Today’s card is another card the girls made at my summer Mini SAS held this past weekend. This set was made using the Open Sea set on page 9 of the summer mini catalog.

I love this card and the colors.
Items used on this card: Bakers Twine (page 10), Nautical Expedition Designer Series paper (page 8). I also used the watercolor crayons on the colors on the boat in addition to watercolor paper.
Another fun male card to be used.. this was also a hit at the SAS.
Have a fun day.
Pam
Sail Away
Hello my friends and happy Monday to you. I hope you had a great weekend. I sure did as my Summer Mini SAS I had this past weekend was incredible and the girls had lots of fun making the 10 cards that I will display over this week and next. They all loved the door prizes too as those were big hits…

This is the first of 10 cards the girls made this past weekend and its made using the Sail Away stamp set featured in the summer mini catalog 2011 on page 11. This stamp set is so wonderful and sold at a very good price of $9.95, wow.. and such great cards you can make with this one little stamp….
I also used the following on this card (most items featured in the summer mini): Bakers Twine (page 10) Sail Away stamp (page 11), Nautical Expedition Designer Series paper (page 8)m Postage Stamp punch (page 10).
The colors on this card are Not Quity Navy & Cherry Cobbler.
This card was a big hit and such a great guys card.
Come back tomorrow for more cards…. have a great day.
Pam
Love & Care Card # 2
Happy Friday my friends and welcome back to my blog.
As I stated yesterday, this is another card I made using the Love & Care hostess level 2 set from the summer mini catalog on page 5. I also used the Beyond the Garden Designer series paper on page 23. I love the colors of this card.

Colors: Melon Mambo, Wild Wasabi.
I love this card with the bright colors…. such a fun and easy card to make too.
Have a wonderful weekend my friends and come back next week as I will be posting over the next couple of weeks the 10 cards the girls made from my Summer Mini Stamp-a-stack and then the following weeks will be the door prizes made… you will want to see those as if I do say so myself.. they are outstanding…
Have a great one.
Pam
Love & Card Card 1
Hello there my friends. I hope everyone is doing well today.
Today’s card was made using the Love & Care Level 2 hostess set that is in the summer mini catalog 2011 on page 5. I love this set and the pretty cards you can make it but the only way you can earn this stamp is by placing an order for $300 or more. A lot I know but a beautiful set. This card also used the Beyond the Garden Design Series paper that is featured in the summer mini also on page 23.

I also used Wild Wasabi, tangerine Tango, and white paper and Tangerine and Wild Wasabi pens on the stamp to get the pretty colors once stamped.
I hope you enjoyed today’s card, come back tomorrow for another card made with this stamp set.
Have a super duper day.
Pam
Gail’s Flip Flop Card Tutorial
Below is my upline and BFF Gail’s Flip Flop Card Tutorial that she posted on her blog a few weeks ago. Great job my friend and thanks for sharing the details with us.
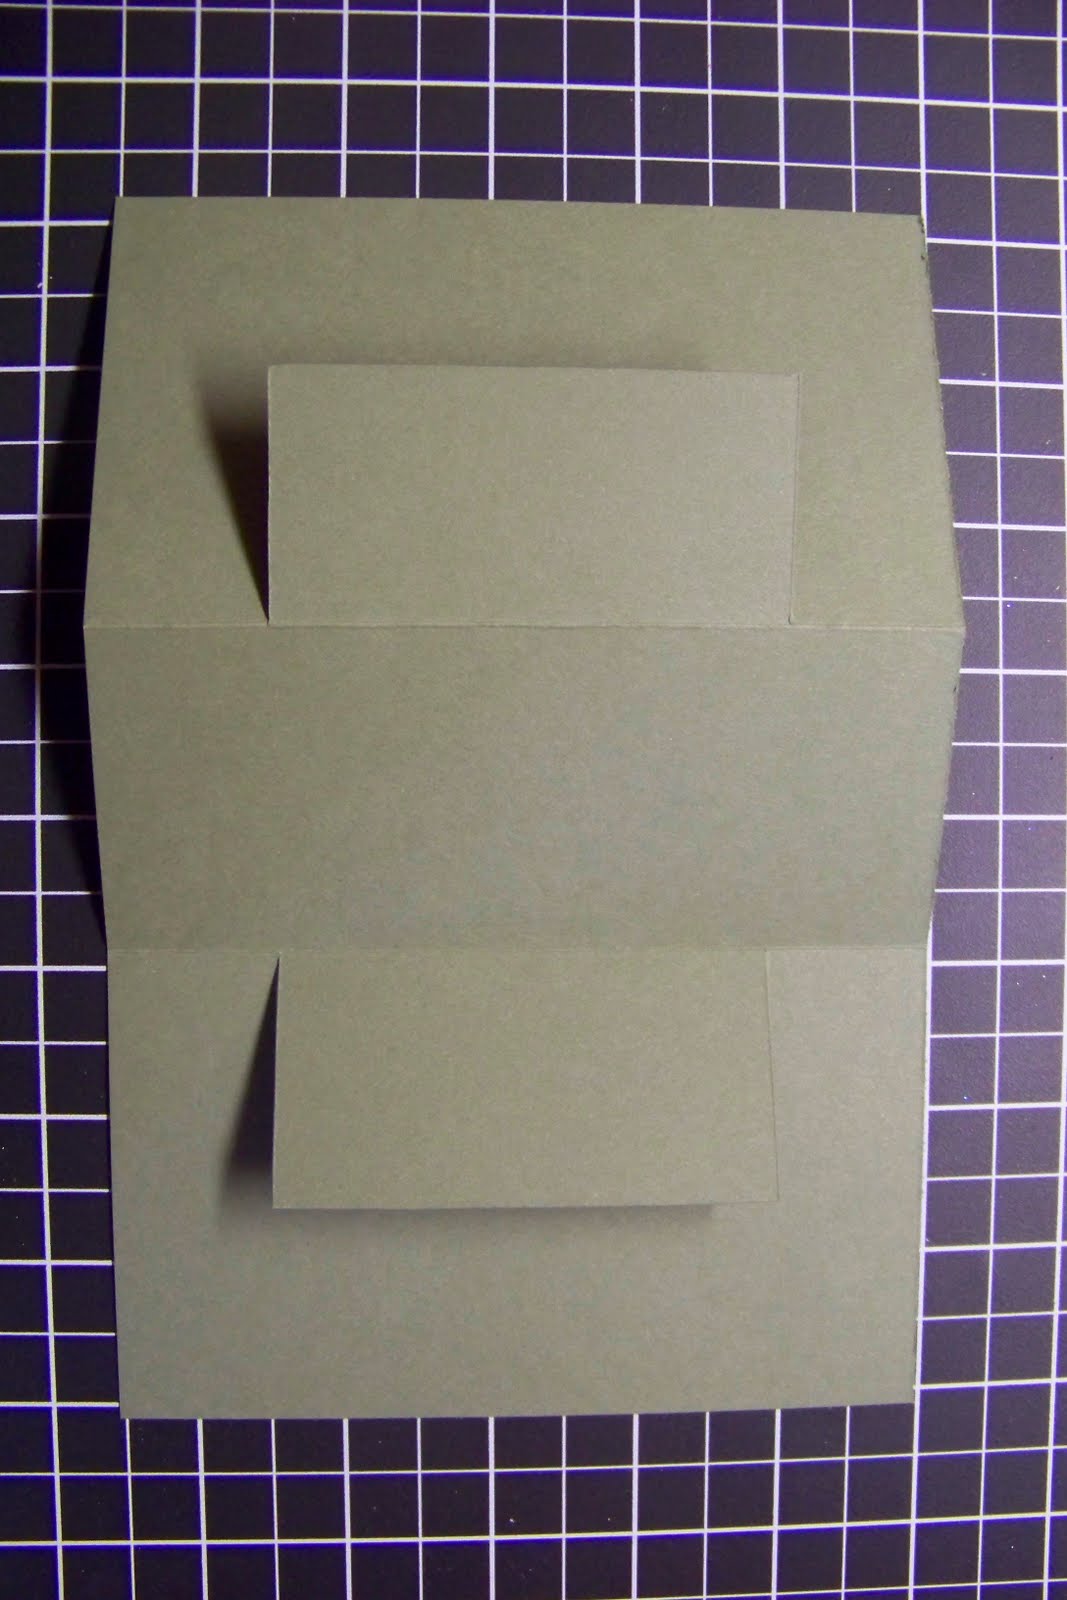
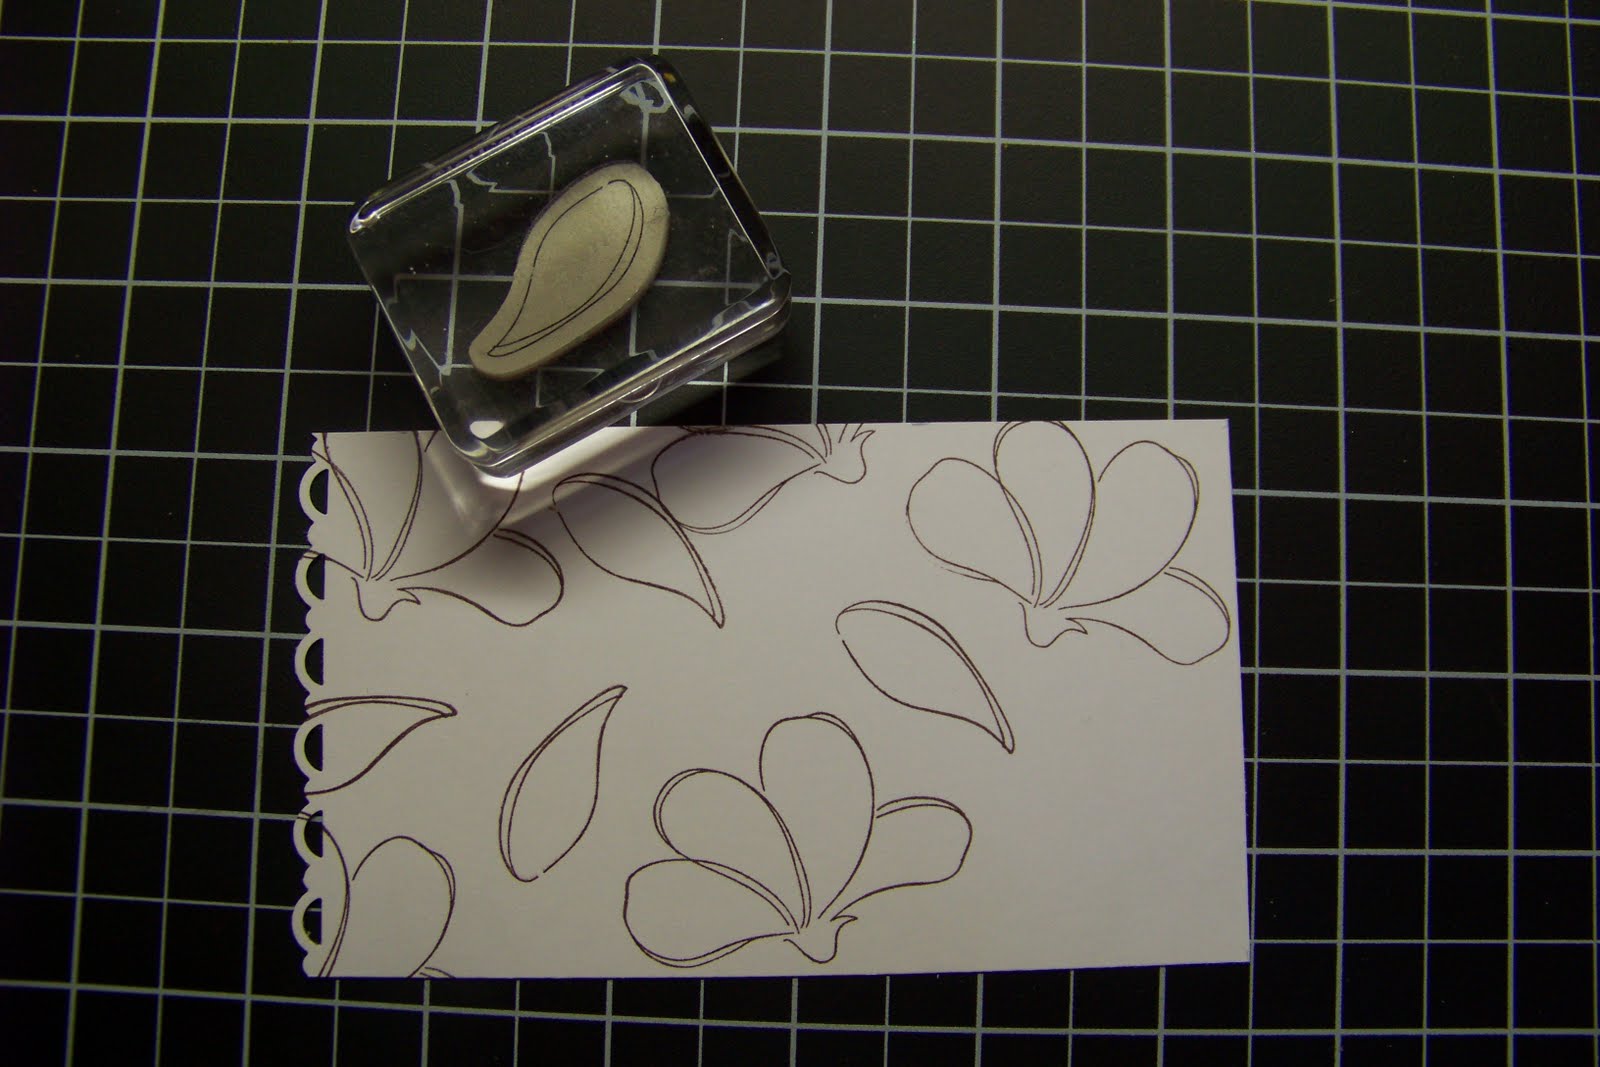
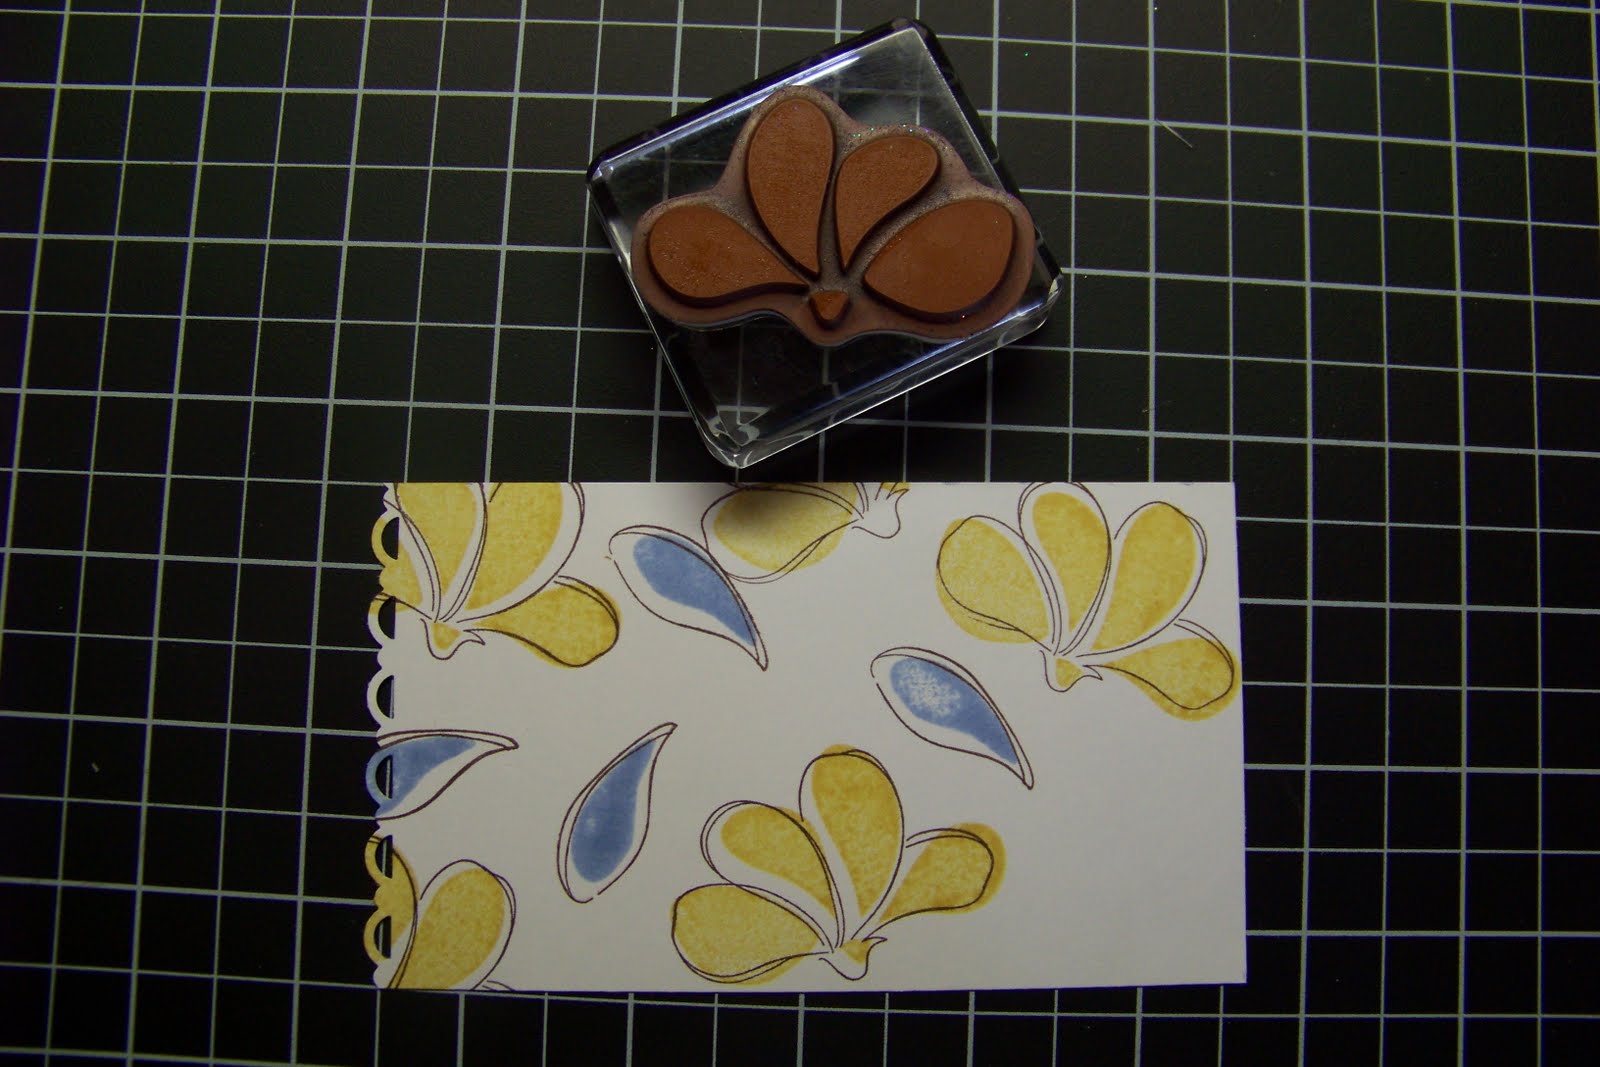
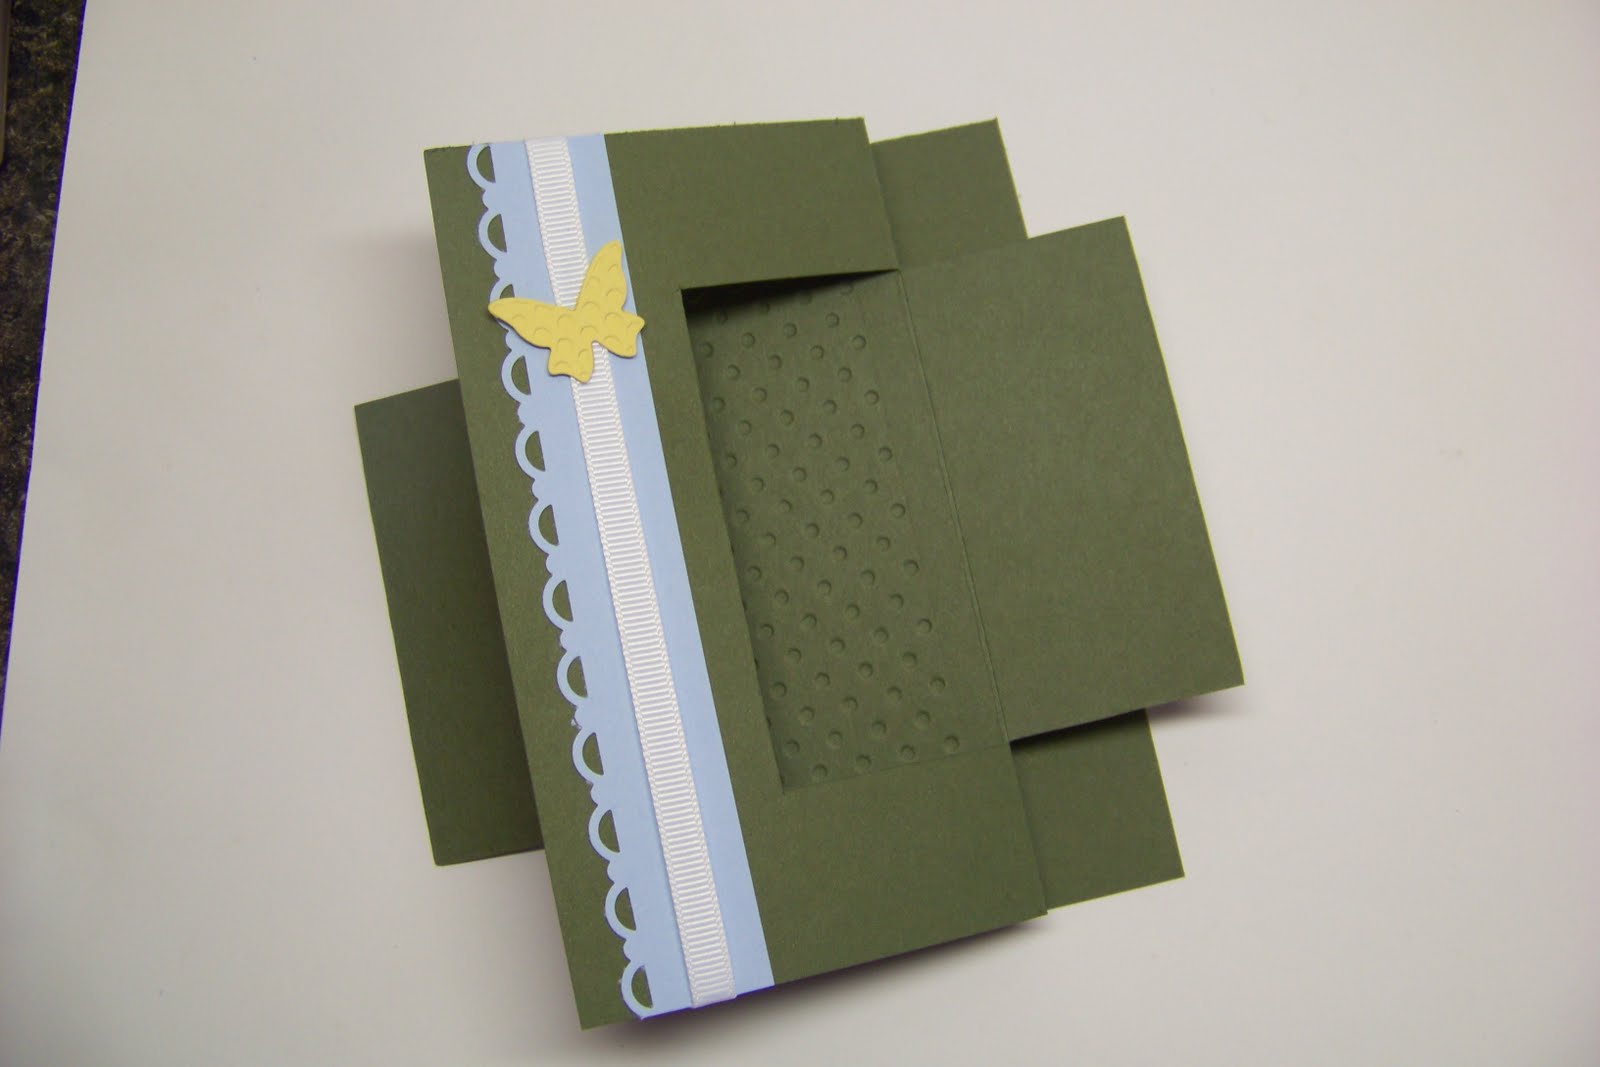
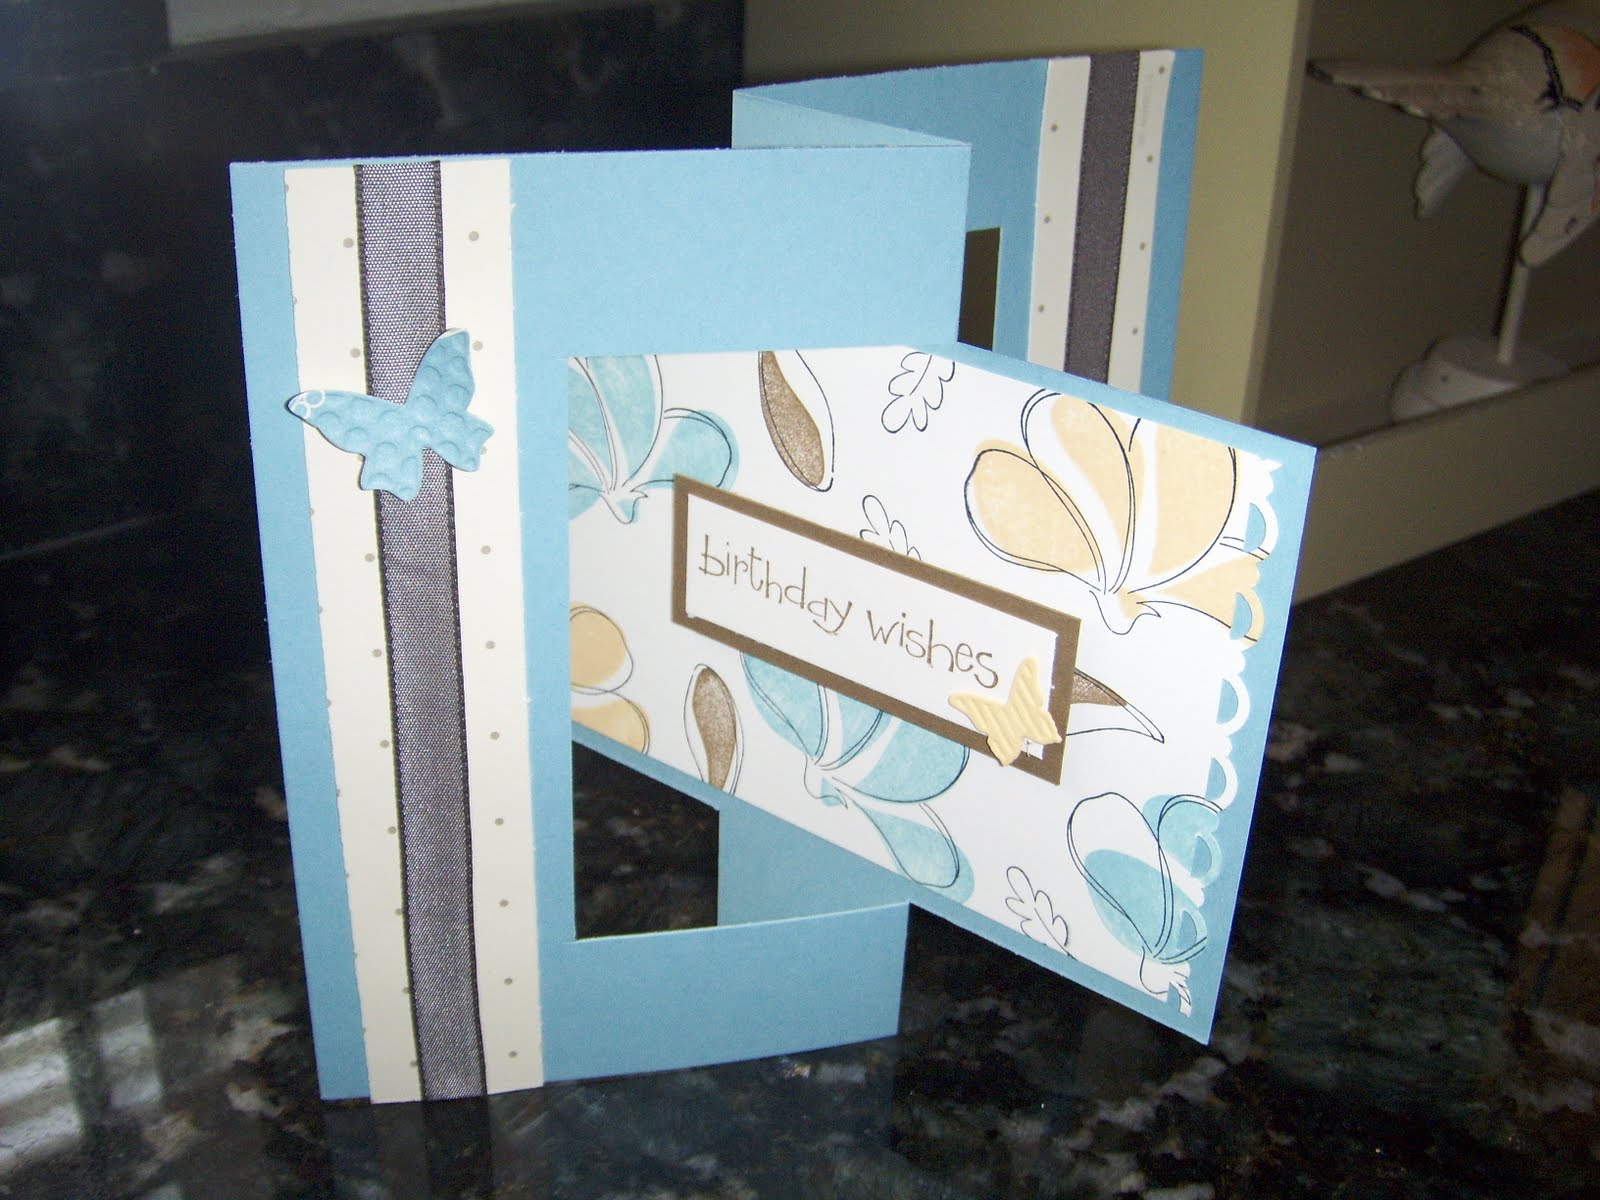
Flip Flop Card with Tutorial
For those who were unable to attend my SAS this weekend,, here’s a copy of the Flip Flop Card we made using the Awash with Flowers stamp set, along with a brief tutorial on how to assemble it.


Gails’ Pretty basket…
Hello my friends,
Today’s post is a bonus project we made at Gail’s BBB SAS. Gail not only has 10 cards for everyone to make, but she always had a bonus project for us to make too.. she is so good. How cute is this with colors. I love it and she showed me an easy way to make this baskets as I have had this die cut for like forever but always had the hardest time putting the basket together, but with Gail’s hope I now know how.. thanks my friend.

She not only cut the basket out of the Sizzix die but also embossed it with the polka dot embossing folder – not sure you can see the dots on the picture, but they are there.
Excellent SAS Gail as I loved all the cards and what a fun night of stamping with my BFF’s and my mom.
Have a great day my friends.
Pam
Gail’s Rubber Ducky Card
Hello and Happy Memorial Day to you….
So I saved my most favorite card that we made at Gail’s BBB SAS (all the cards were great as you can see) but this was my all time favorite. But I need to thank my BFF Evie for making this card for me that night as I was running out to time, so thanks buddy. The picture does not due this card justice, you must see it in person.. so, so, so cute.

Check out the details on this card… so, so, so cute.. can you tell I love it.. no…
Gail did an outstanding job on her SAS as always. Her attention to details is incredible… great job my friend.. love ya.
Pam
Gail’s Birthday Candle Card
Happy Friday my friends,
How cute is this card… its another fabulous card made at my upline and BFF Gail’s BBB SAS. I can’t believe how creative Gail is.. I so wish I had as much creativeness as her, but so glad I can learn from her.

Very cute card and the colors are great.. so clever…. love you Gail.
Have a great weekend and come back next week for a few more cards made at Gail’s SAS.
Pam


Gails’ Onesies Cards
Hello there,
Below are two of the cutest cards ever… I just love them. Again there were made at my upline and BFF Gail’s Brides, Babies and Birthday SAS.

Gail is always so good at her SAS to have two version of cards that you can make, something that I need to start too. But how cute are these.. I just love them. So easy to make but if you did not know better you would think.. wow that card could be hard.. not at all. I love how she put the great colors together especially the pink and brown.. love those colors together.
Great job again Gail. and two more cards to show and then a special project we got to do too.
Have a fabulous day.
Pam